I’m going to walk you through this edit 100%. :o)
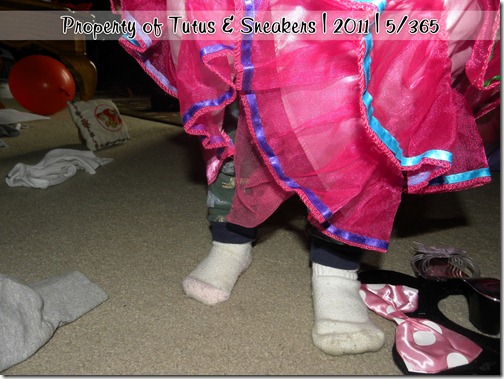
This is a picture of Princess Pudding playing today. (We spend lots of days like this – jammies and dress up dresses all day long lol) Gotta love a girl who wants to wear dinosaur jammies under princess dresses.
SOOC – Princess Pudding, January 5, 2011
First, let’s do Layers>New Adjustment Layer>Levels
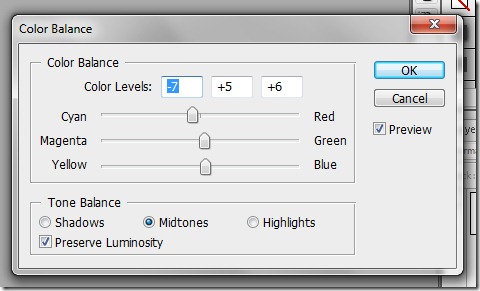
Next, Layers>New Adjustment Layer>Color Balance
If I wanted to do just plain ol’ editing I’d leave it at that, that is fine, BUT I want to do a tad more tweaking. First things first, I’m going to blur out some of the background. Duplicate your work window by going to image duplicate (this is so you mess up you can go back to this point easily). Merge all your layers and then duplicate the image. Go to Layer>New Fill Layer>Gradient. After clicking ok the gradient box will pop up, change your angle from 90 to –90. (Your angle changes from picture to picture by the way, you’ll figure out how to determine your angle as I go along). Move your duplicate image over the gradient, then right click the image and select create clipping mask. Making sure the image (not gradient) is still selected go to Filter>Blur>Lens Blur and then fool around with the settings until you get a blur you are happy with. Now merge your blurry image and gradient into one layer. Duplicate it, then hide one of the duplicates. (yes again, in case you mess up) Take the blurry image you have showing and carefully erase any pieces you don’t want blurry.

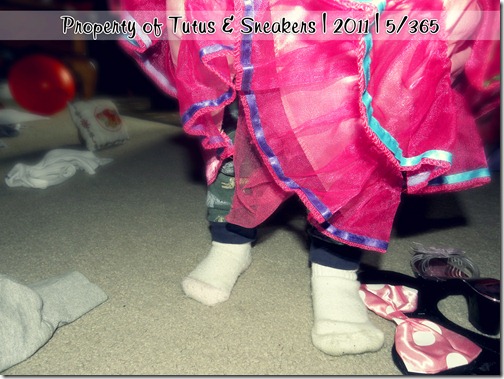
And there you go! That’s it! (click for full size) and here’s the special edit done with My Four Hens’ Grins and Giggles action from her Son Shine Collection. (click for full size)


No comments:
Post a Comment